APP INVENTOR
EXAMPLE 7: BUTTON PRESSED 10 TIMES
The following tutorial will teach you how to work with variables and to make their value increase automatically. In our app, when the user clicks the central button 10 times, the app will open a new screen. In addition, every time the user clicks the button, there is a label showing how many times the user has clicked.
DESIGNER SECTION
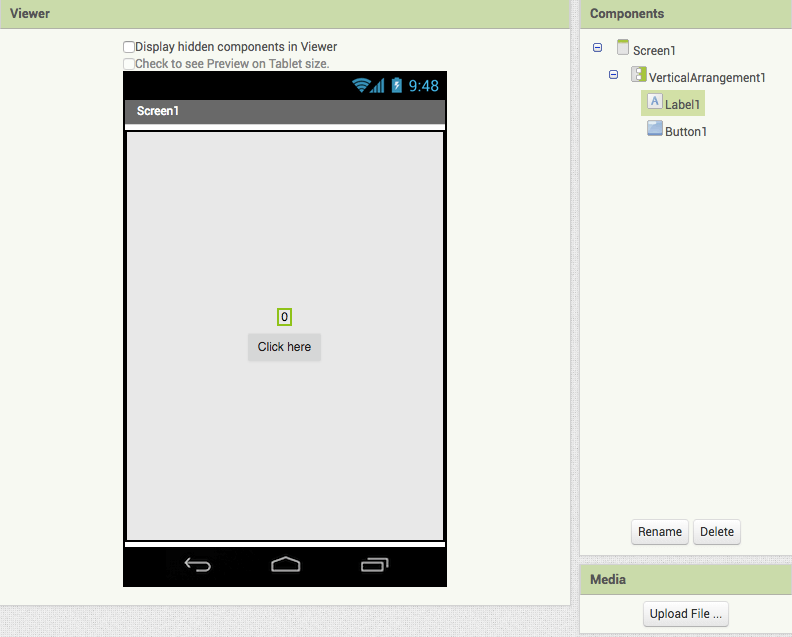
- Add a VerticalArrangement to the Screen and change its alignment options to “center”, so that the elements we are going to add will be displayed one beneath each other and in the centre of the arrangement.
- Add a Button and a Label. Change the button text to “Click here” and the label text to “0”.
BLOCKS SECTION
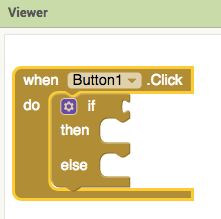
1. Add the code for the Button by clicking on the Button on the left:
when Button1.Click
do
2. Now we need to add a condition, that is if the user presses the button 10 times, the app will open a new screen. If it’s less than 10, the label will change its value according to how many times the user has clicked the button. Let’s add an “if then” block from the Control section. Then click on the setting icon and add “else”.
3. Now we have to code our condition. To code that if the user press the button 10 times, a new screen will open, we need to create a variable. A variable is like a box that stores data. The data we need to store are the times the user clicks the botton.
So, first of all, let’s create a variable. Go to the Variables section and add:
initialise.global to Call the variable “times” and add the block before the button blocks. Then, go to Math and add the block “0” to your initialising block. The value is set to “0” because when the app starts, the user has not pressed the button yet. The app will start to count each click from the first one done by the user.
Now that we have created the variable “times”, we can add the condition to the “if statement”. The app must check if the number of times is equal to 10 to open a new screen. So, click on Math and attach the following block to the if clause:
Then add the values, that is our variable “global times” and the value “10”. Click on Variables and drag the following block inside the first empty space:
get (select global times) Now go to Math and drag a “0” block in the second space. Change its value to 10.
4. We have added the condition, now we have to state what happens if the condition is true. Click on the Control section and attach the following block to “then”:
open anotherScreen ScreenName Now add an empty string block from the Text section and change it to “Screen2”.
Then add the values, that is our variable “global times” and the value “10”. Click on Variables and drag the following block inside the first empty space:
get (select global times) Now go to Text and drag an empty string block “ ” inside the second space and set it to 10.
4. We have added the condition, now we have to state what happens if the condition is true. Click on the Control section and Attach the following block to “then”:
open anotherScreen ScreenName Now add an empty string block from the Text section and change it to “Screen2”.
5. But what happens if the user has not clicked 10 times yet?
Let’s add the code for the “else” of the if statement. We want that until the user has not clicked the button 10 times, our variable “global times” increases according to the number of times and the label text reflects that increasing number. So, first of all, we have to make our GlobalTimes variable increase by one at every click. Go to Math and add the block for summing numbers. Then, click on Variables and drag the following block inside the first space:
set (select Global times) to Then go to Math and add the “0” block to the second empty space. Change its value to 1. By adding these blocks, we have just made our variable global times increase by one at every click.
6. Finally we have to set the label text equal to the global times value. Click on Label and select:
set Label1.text to Now go to Variables and select “get” and Global times.
7. The last thing to do is initialising Screen2. Click on Screen1 at the top and select Screen2. Now click on Screen2 in the left side bar and add the block:
when Screen2.Initialise
do
Run and test your app now!
You can download the project here.


